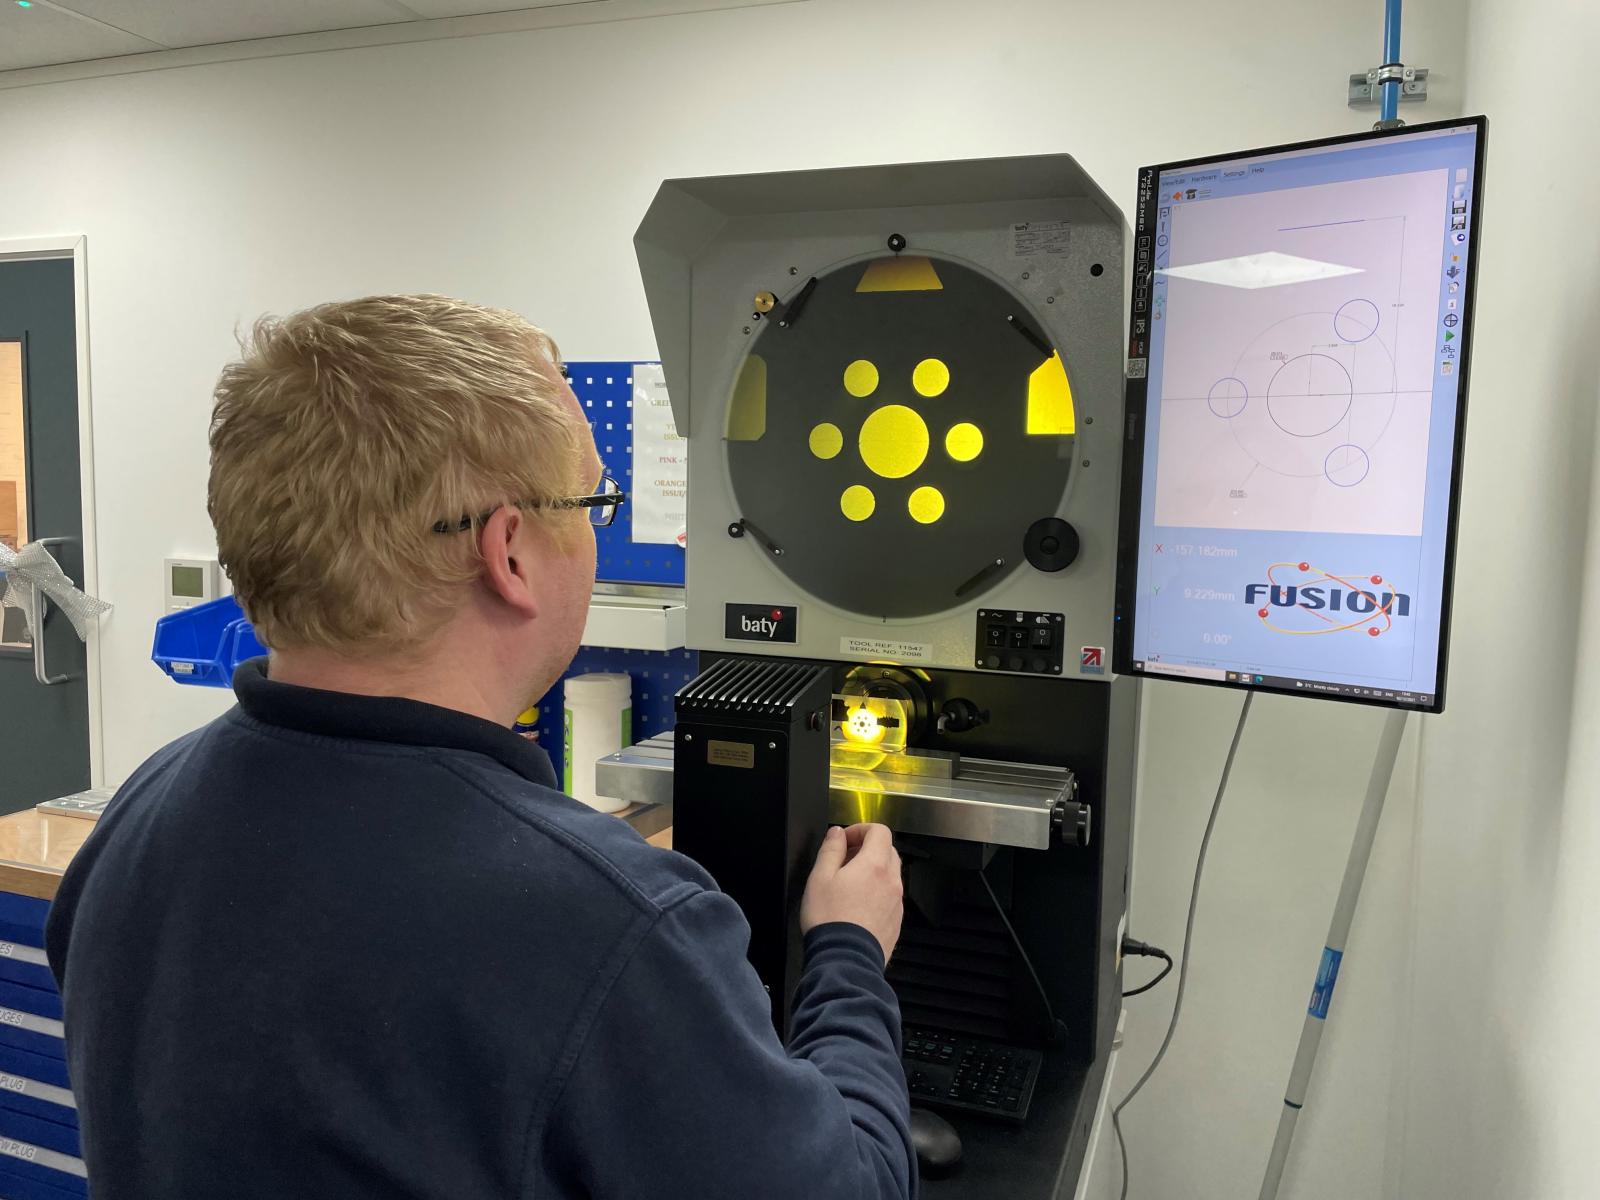
Fareham-based CNC machining company, Penta Precision, has increased its measurement capabilities by investing in a Baty R400 ‘Shadowgraph’ profile projector supplied by Bowers Group.
Penta Precision is an ISO 9001:2015 accredited company with extensive experience in machining high-quality components for several industries, including aerospace, military and defence, R&D, medical and pharmaceutical.
In 2021, the company devoted significant investment into new, larger premises, as well as boosting its workforce and its capital equipment to include 5-axis machinery as well as the Baty R400 profile projector. In doubling the size of its workshop, Penta Precision has increased both the capacity and capability of its dedicated CNC machining service.
The R400 at Penta is used daily by the quality department for first-off checks and final batch inspections of CNC milled and turned parts, as well as being used by its machinists to carry out in-process checks. The projector enables the company to measure a much wider range of parts due to the increased measuring range available when compared with the previous projector. This had caused an overreliance on using the CMM for simple dimensional checks, so investment in the R400 is preventing delays in inspecting first offs, as well as releasing the CMM for more complex work.
The Baty R400 bench-mounted profile projector is suitable for both the shop floor and the standards room and combines high accuracy non-contact measurement with inspection with a large 300mm x 150mm measuring range. With a choice of digital readouts and optional automatic profile edge detection, the R400 ensures a projector that fits a wide range of requirements.
Mike Steppens, Lead Quality Inspector at Penta Precision said: “At Penta we really care about our customers’ expectations. This forms a fundamental part of the company’s core target to become the engineering company where everyone wants to work and who everyone wants to buy from. I’m pleased that Penta has continued to invest in equipment to enhance the measuring capabilities of the quality department and with the purchase of the R400, it allows us to reduce the reliance on the CMM and also gives us the ability to verify any questionable reading from other equipment.”
"We have a high mix of work, and so there are high demands on inspection. The R400 has helped to free up the CMM and prevent delays in first off inspection. The majority of the parts which can now be measured on the R400, we were having to use the CMM as the previous projector had too small a working window."
The team at Penta are highly impressed with the Fusion software and its ease of use, with the ability to create a pictorial image of the part being measured. They are also able to use internal edge detection to remove any potential user judgement when trying to measure features.
For those who are unfamiliar with the software, the simple user experience enabled team members to quickly learn how to use the machine to its full potential. It is also extremely accurate and offers the additional benefit of the machine being used to verify the results given by the CMM to within microns.